Basic Git and GitHub For Contributing To Open-Source
Learn enough version control to contribute to open-source.


Table of contents
Open-source is arguably one of the most popular Tech vocabularies in recent times. It is basically, projects that are available to be changed or used by anyone and a sure way for techies of all levels to give back to society. Beyond that, it presents an opportunity especially for beginners to constantly practice version control (git) commands, learn to collaborate with others as well as familiarize themselves with GitHub.
In this article, we're going to learn how to use the basics of git and GitHub to contribute to an open-source project.
Prerequisites:
Before proceeding, ensure that you have the following:
- A GitHub account. (If you don't already have an account, create one here)
- An IDE ( preferably Visual Studio Code. If you don't have that, download it here)
NB: if you're new to Git, check out these getting started videos. Also, if you're new to GitHub, first familiarize yourself with the basic concepts here.
Background:
For the purpose of this article, we’re contributing to The Good Docs Project website. Fixing the following issue:

The process:
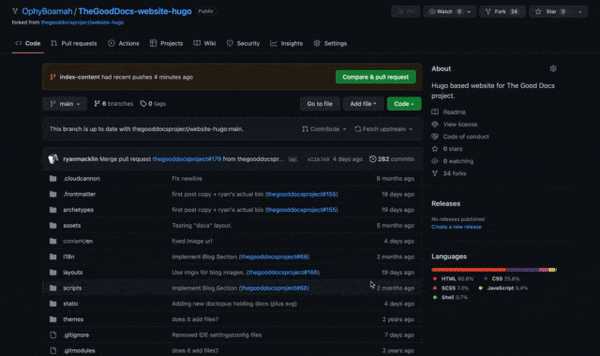
- Fork: After finding a project that you’d like to contribute to, go to the project’s GitHub repository and click the fork button on the top right corner.
After forking has been done, the project becomes a repository on your GitHub, now you can use it

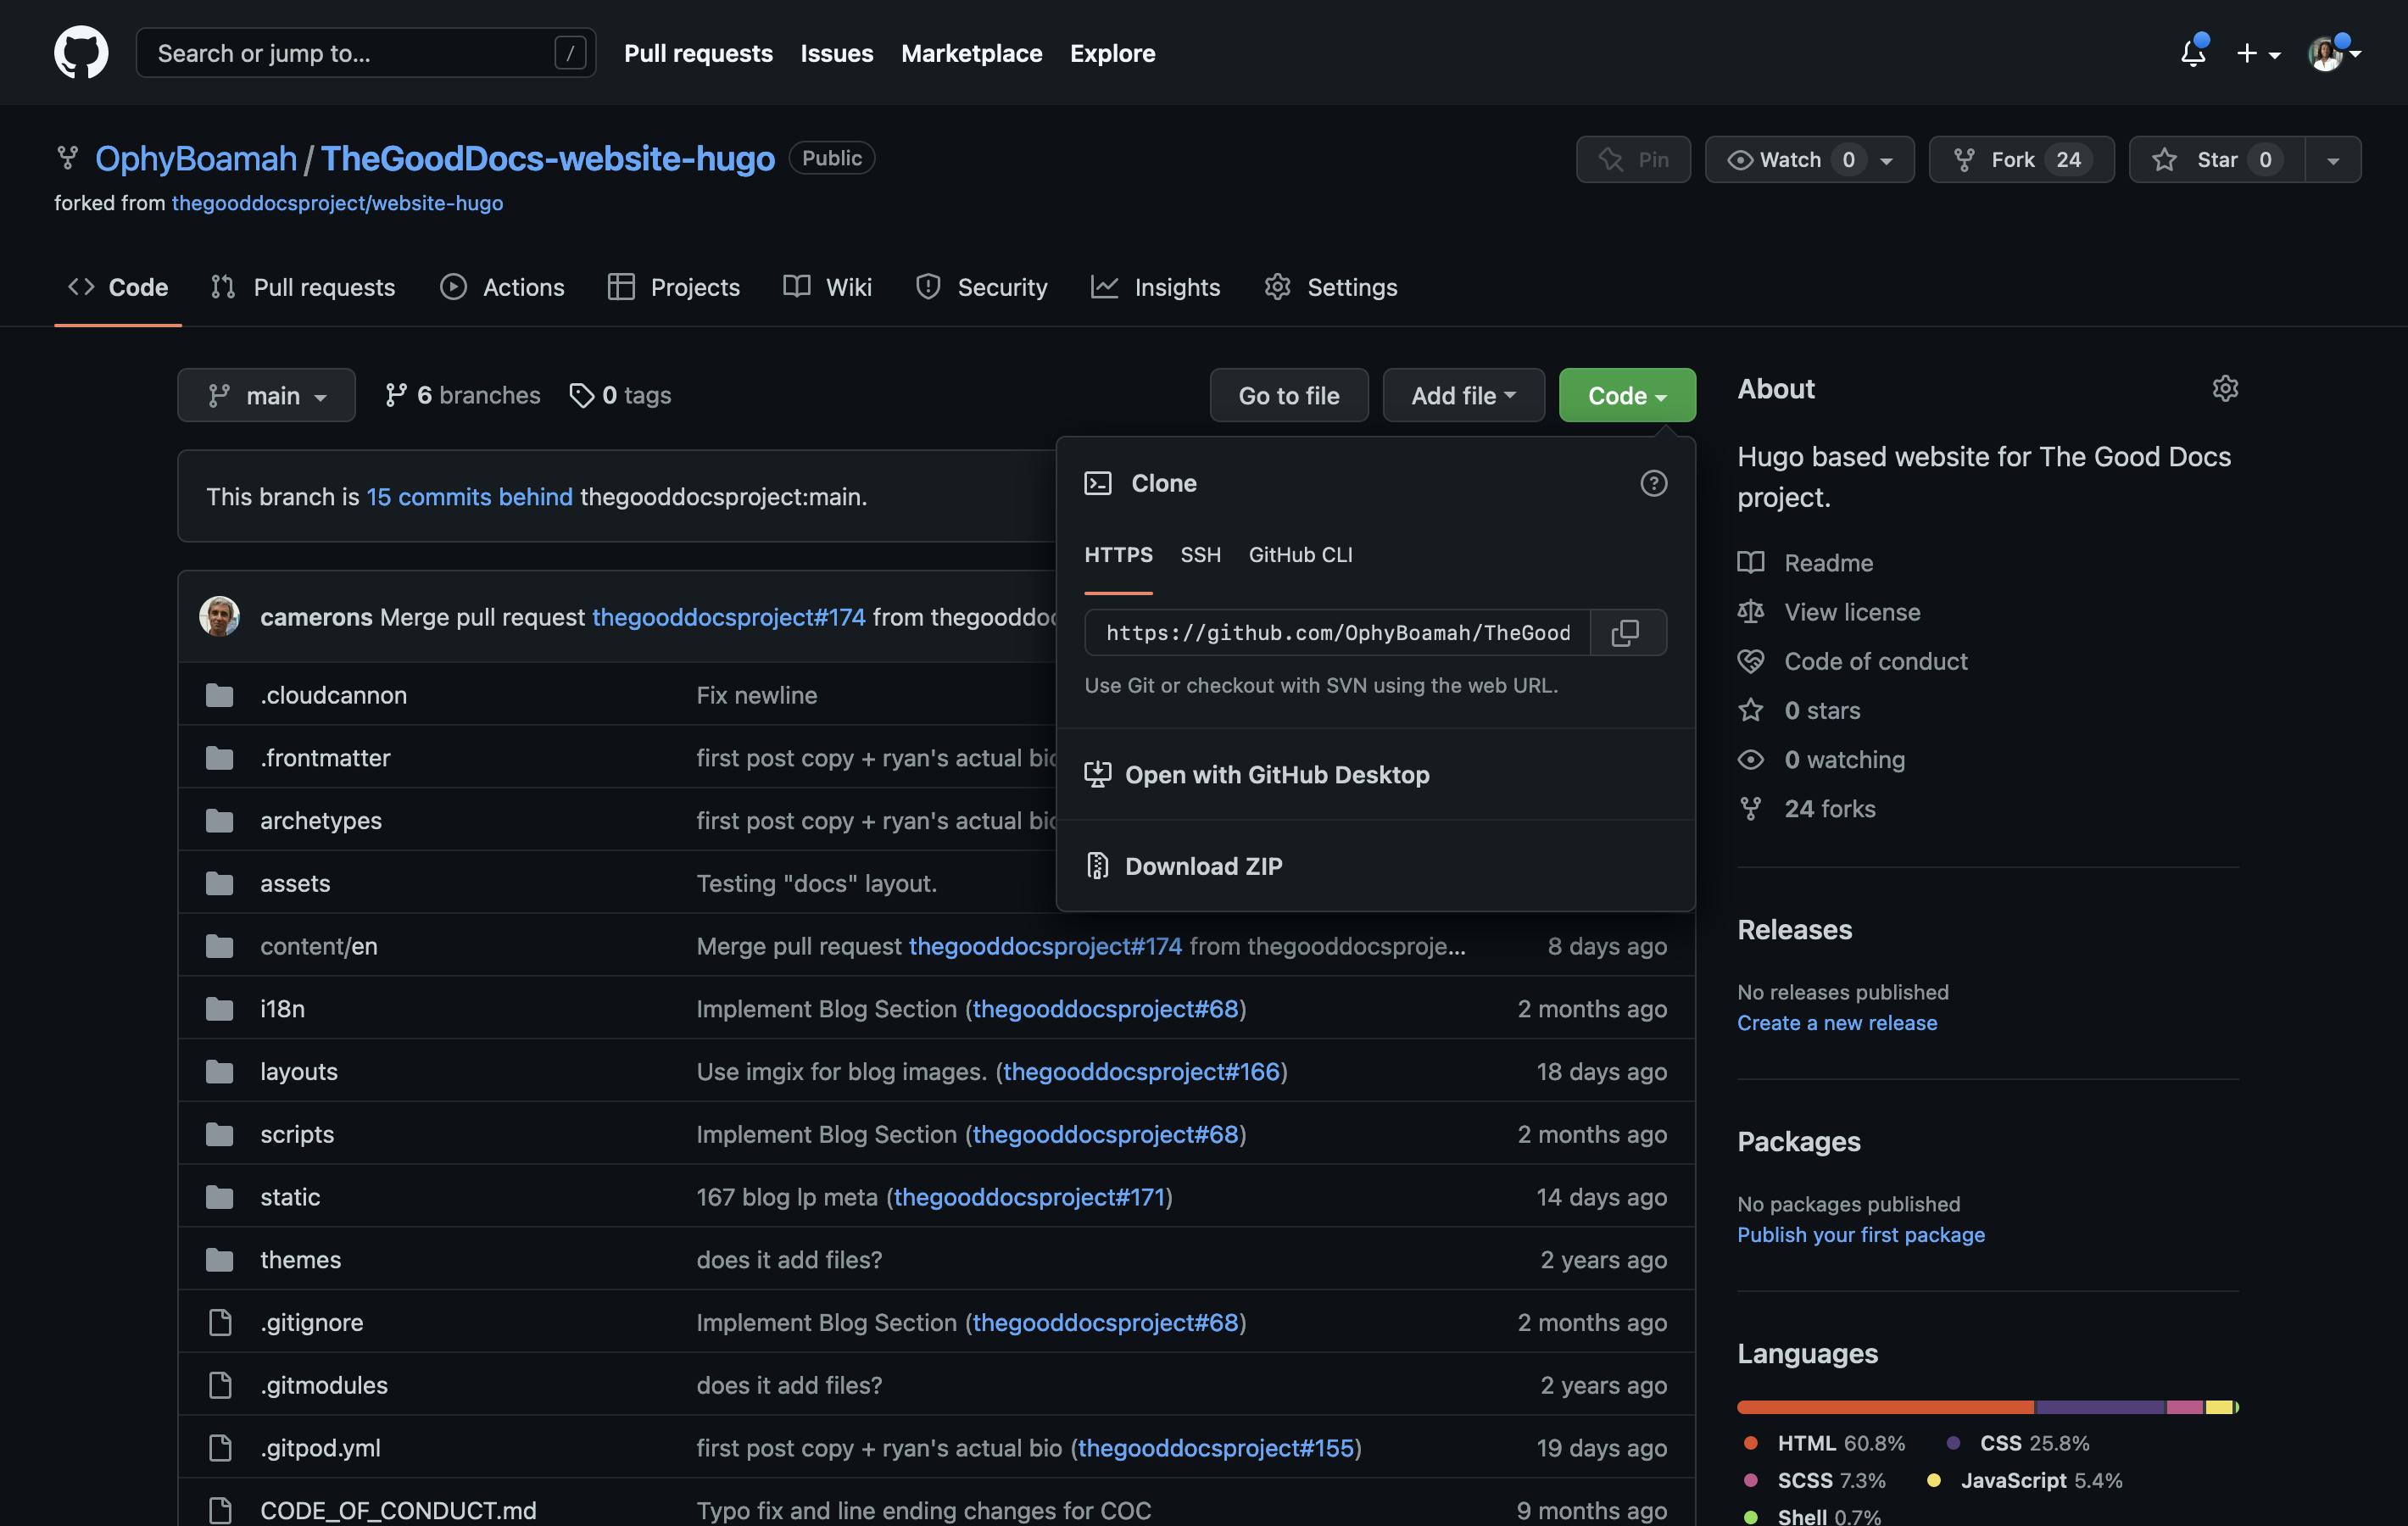
Clone: Because you need a copy of the project on your local machine to work on, you need to clone. Using your terminal, navigate to where you wish to have the project and initiate the clone.
git clone {repository link}

eg. git clone https://github.com/OphyBoamah/TheGoodDocs-website-hugo.git
You can find a repository’s link easily by clicking the green code button to reveal the popup box and copying the link. Usually in this format
'https://github.com/{username}/{repositoryname}.git'
Depending on where you do your clone, you’ll have a local copy (folder) of your project created on your computer. Open with a code editor (IDE) to start editing.
Now, take time to make the necessary edit or corrections to the project to fix the issue indicated.
4.Status: This command is used first to know if you’re on the right branch and second if your changes have been staged. It’s advisable to use this intermittently. To ensure at every point that you’re on track.
git status
5.Pull: If checking the status reveals that your branch is behind on commits, probably because someone else may have done a push or merged to the main repo while you worked on yours, make a pull from the main/ master branch to get recent changes if any.
git pull origin main
6.Branch: Checkout to a new branch so that you can easily keep track of all your changes under a branch
git checkout -b {branch-name}

eg. git checkout -b typo-fixes
Staging Changes:
7.Add: This is the first step of the staging process. (’.’ in the command stands for all). The command indirectly reads ‘git add all changes’
git add .
8.Commit: This is the second step of staging your changes to be pushed
git commit -m "{commit message}"

eg. git commit -m "Updated Slack links"
- At this point, you can check the status to ensure you’re on track 9.Push: After confirming, make a push to the repo
git push
Finishing Steps:
After making a push, there are a few other steps to follow until completion:
- Create a pull request: Create a pull request to notify the owners or maintainers that you’ve made changes that you’ll like to be added to the project
- Link to Issue: It’s ideal to add a comment to your pr and link an issue. This ensures that once the pr is approved and merged, that issue will be closed. The shortcut to do this is using the command: Resolves {issue link}. This is shown in the gif below.
- Reviewer: For most open-source projects, you have to assign a reviewer. This is a knowledgeable member of the project, who can review your pr and in some cases, the one who created the issue.
- Review: The owners of the repo will take time to review your pr to see if it doesn’t have any conflicts i.e it won’t cause any bugs when merged.
- Merge: Once they’re convinced that your pr resolves the issue it’s supposed to resolve, they’ll merge and most times, you’ll get an email indicating that your pr has been approved and merged. The email may look something like the one below

PS: If you’re convinced you can resolve that particular issue, then before you begin, assign the issue to yourself so that all contributors can see that you’re working on it. Do that by clicking on ‘assignees’ at the far right of the issue page.
Conclusion
Overall, contributing to open-source should be an essential part of every developer’s journey. Especially for beginners, this is because it comes with so many benefits. Not only does it give you an opportunity to practice with real-life projects, but it also proves to potential employers that you can work in a team. It’s also a way of giving back, which is a thoughtful and honourable thing to do. Very important to note that the commands we’ve just learnt are also to be used beyond open-source, for personal projects and at work etc.